Photoshop Techniques covered in this tutorial:
- How to duplicate your image
- How to duplicate a layer in the layers palette
- How to change image colour using colour balance
- How to use the Free Transform Tool
- How to use some of the filters available
- How to create a layer mask
- How to add text
- How to speed up your work by using shortcuts
In this tutorial I use Photoshop CS. Any shortcuts I use are for the PC and not for Mac. For those of you that are using a Mac just simply follow the instructions without the shortcut keystrokes (If you are using a Mac and know the shortcuts please contact me and I can add them to this tutorial).
Step 1 - Images Required
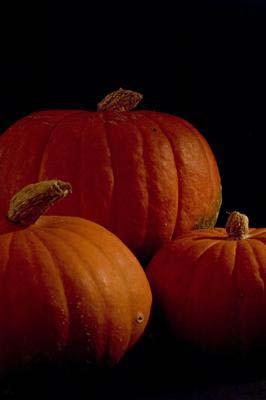
First find some faces of your kids or get out your digital camera and make your kids give you some funny faces. While you got the camera out get photos of some pumpkins or download the images used in this tutorial. The girl’s face is not the best image but it works. I was going to throw this away but I liked the expression on her face. I knew I would find some use for it. 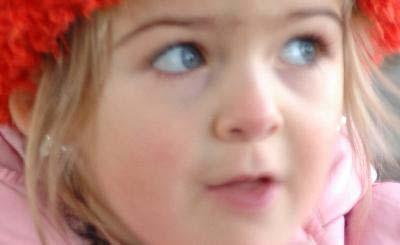
Step 2 - Duplicate Image and Layer
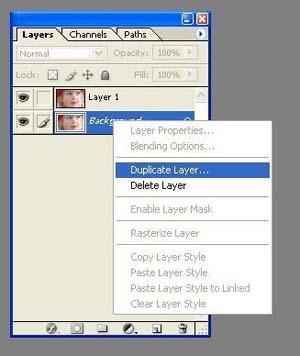
Open up your image in PhotoShop. Duplicate your image so that you are not working on your original. IMAGE>DUPLICATE. Make all the necessary adjustments. For example, levels, curves, etc. Open your layers palette WINDOW>LAYERS or press F7. From the layers palette duplicate the background layer by pressing Ctrl J or by right clicking the background layer and choosing ‘duplicate layer’. Ensure that you make your new layer the active layer. You know which layer is active when it is highlighted.
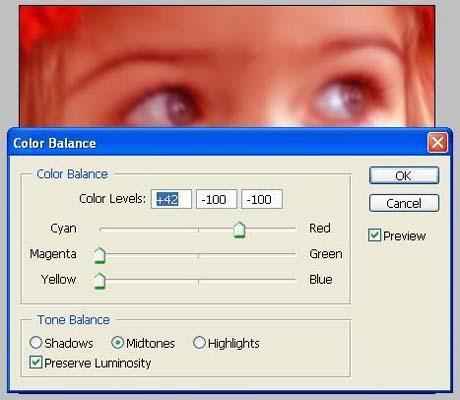
Step 3 - Color Balance
The first thing we want to do is give her face an orange colour. This will help blend it into the pumpkin later. Select IMGAGE>ADJUSTMENTS>COLOR BALANCE. When the dialog box appears slide the magenta/green and the yellow/blue bars all the way to the left (-100) and set the cyan/red to about 43% or until you get that orange colour that is close to the pumpkin.
Step 4 - Moving One Image to Another, Using the Free Transform Tool
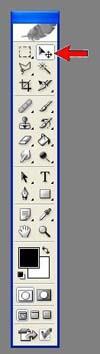
Now open up your pumpkin image. Again, Duplicate your image so that you are not working on your original. Make all the necessary adjustments. Open your layers palette and duplicate the background layer Ctrl J. (see Step 1 if you need a refresher). Ensure that you make your new layer the active layer. You want to now move your face image over on to your pumpkin image. Click on your face image to make it active and locate the move tool in your tool box. Drag the face image over to the pumpkin image. If you look at your layers palette you should see the face image as a new layer.
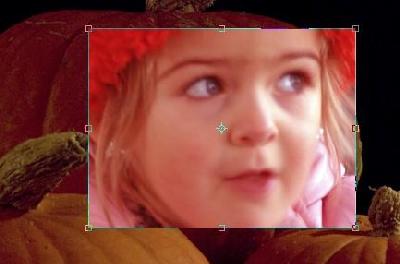
You can move the image around to where you want it located. If the face is too large or small you can resize it by Edit>Free Transform, Ctrl+T and hold down the Shift key and drag the corners to maintain the same perspective of your image.
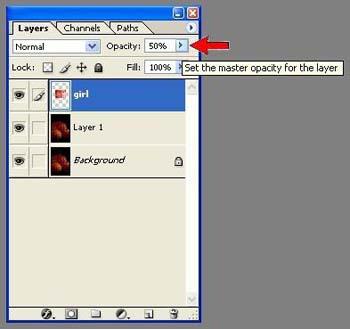
Step 5 - Master Opacity
With the face layer active, In the layers palette drop the opacity to about 50%.
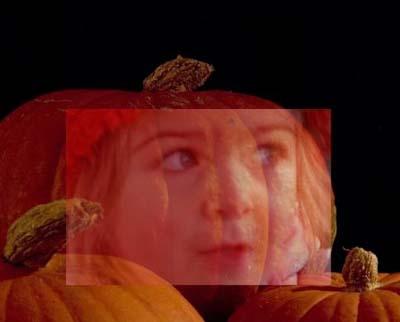
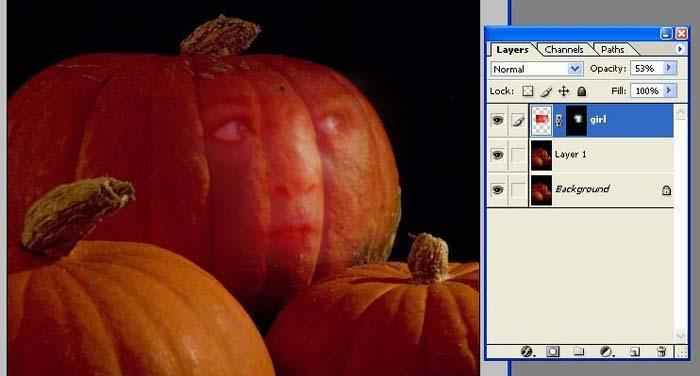
Step 6 - Create Layer Mask
Next you want to create a Layer Mask. To reveal the layer below and the colour, create a Layer Mask by clicking on the Layer Mask icon at the bottom of the layers palette. This sets the colours in the tool box to black as foreground and white as background colours. This is important because black will remove the layer while the white will restore the layer. You need to have the mask active to bring out the colour. At any time you wish to see the mask larger just Alt click on the mask and Alt click to return.

Step 7 - Brush Tool and Blending Image using Blur Filter
Select your brush from the tool box, Remove as much as the unwanted part of the face as needed. You might want to change the size of your brush. You can change the size by using the left bracket key "[" to decrease your brush size and the right bracket key "]" to increase it. If you make a mistake, you can press the X key to change the foreground colour to white and paint over the area. Try it!
To help blend the face into the pumpkin select the layer mask (thumb nail to the right of the image in the layers palette) and add a Gaussian Blur to the mask: FILTER>BLUR>GAUSSIAN BLUR select around 20% (you might find you need to increase this number if you require more blend, play around to see what is good for you) If you image is still not blended as much as you would like, select your brush again, change your opacity of your brush to about 20% and run it over your mask or the areas that are not blended.
Repeat the above steps (1 through 7) for your other face images if you have them.
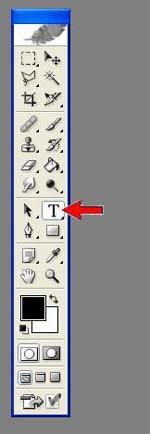
Step 8 - Adding Text
Add text to your image. Select the text box from the tool bar. From the text option menu select your Font, size and colour. I used a Halloween Font called Canker Sore. If you don’t have this you can easily get it by searching for Halloween Fonts and download them for free. Once you get the font you want, locate your Fonts Folder and pop it in there.

Step 9
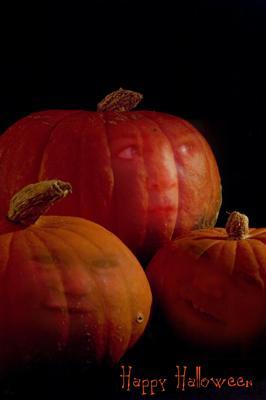
These methods can be applied to any type of blending of images. Use your imagination and have fun!
Tidak ada komentar:
Posting Komentar